
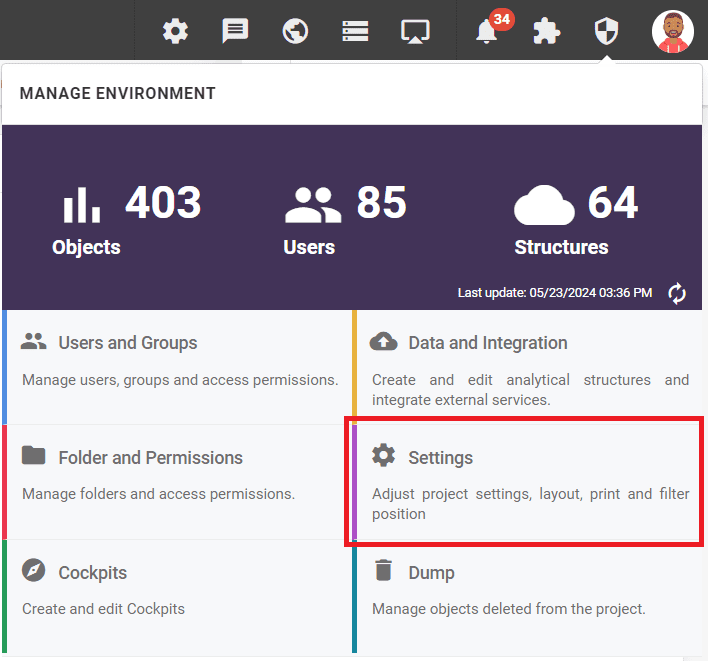
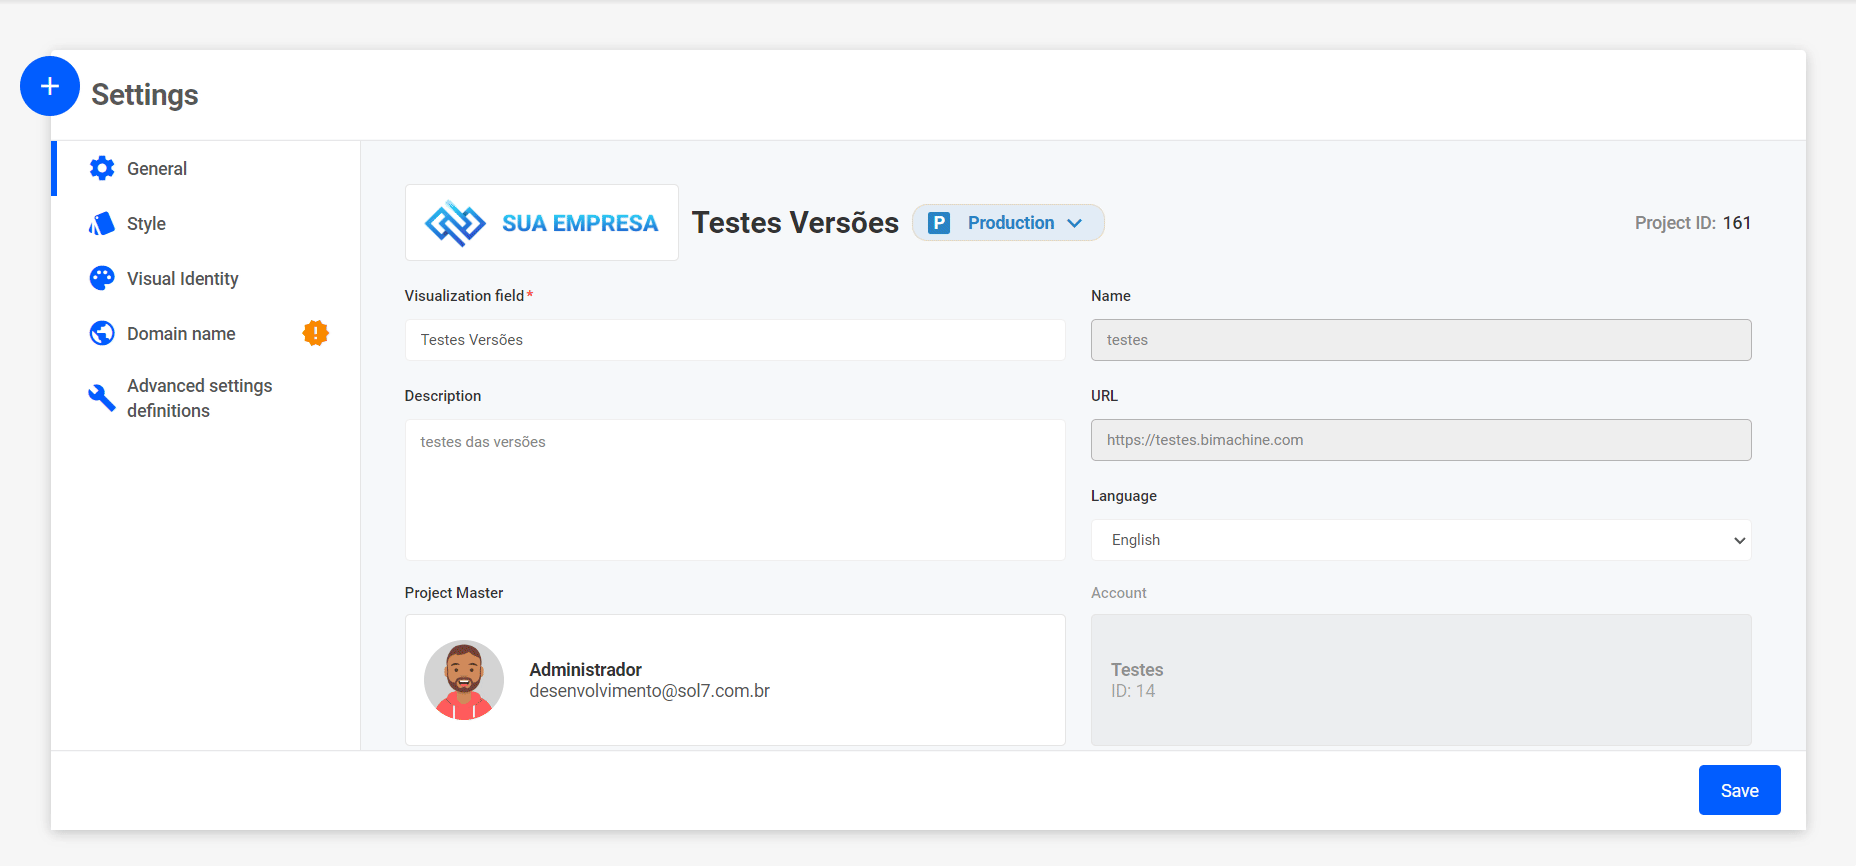
To access the general settings, go to “Manage Environment” and then “Settings”.
Go to the left-hand side of the screen and access the “Visual Identity” tab.
In this section, activate the options you want to customize and configure them as shown below:
- “Favicon” icon: Select an image that will be your project’s favicon.
- Custom branding: Select the image that will appear in the login box of your project.
- Logo to the top of page: Select the image that will appear in the header (top bar) of your project.
- Background image: Select the image that will appear in the background of your project login.
- Background image size: Configure how the background image of your project’s login screen will behave. The options are: Auto, Contain, Cover or Fit into Page.
- Login box alignment: Choose the alignment of your project’s login box from the options. The options are: left, center or right.
- Login Theme: Choose whether your project’s login theme will be light or dark.
Once configured, just click “save” and you’re done! ✅
See the example
Following the settings shown above, the login screen will look like this:
