To create a database type connection using a connection through BIMGateway, you must already have a connection created. Learn how by clicking here.
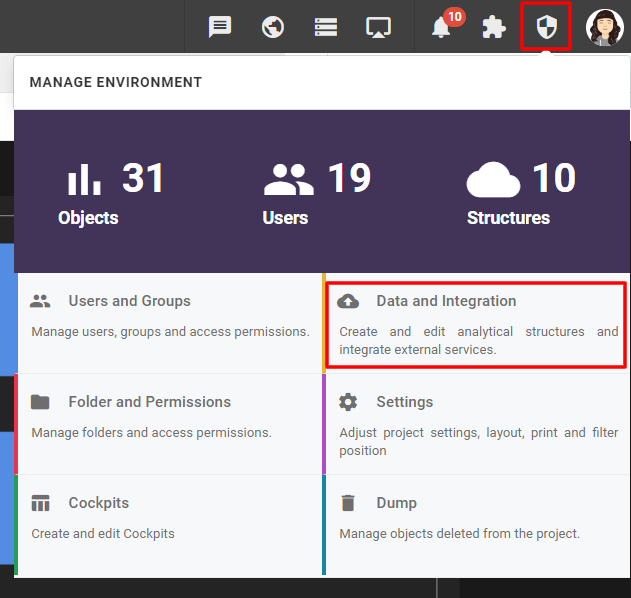
- Use an administrator user to open the “Manage Environment” menu and then click on “Data and Integration”.
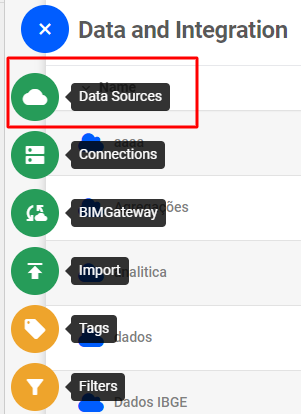
- Click on “Data Sources”.
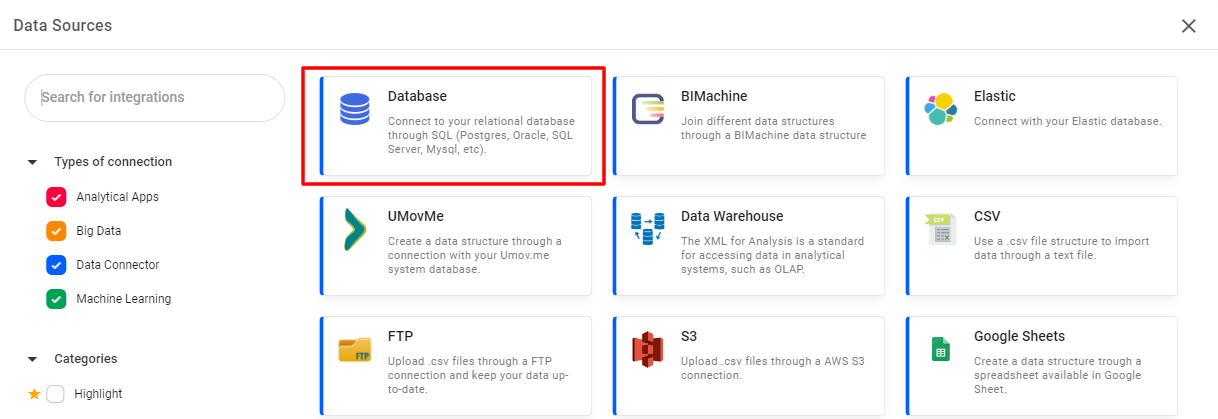
- Select the “Database” connection type.
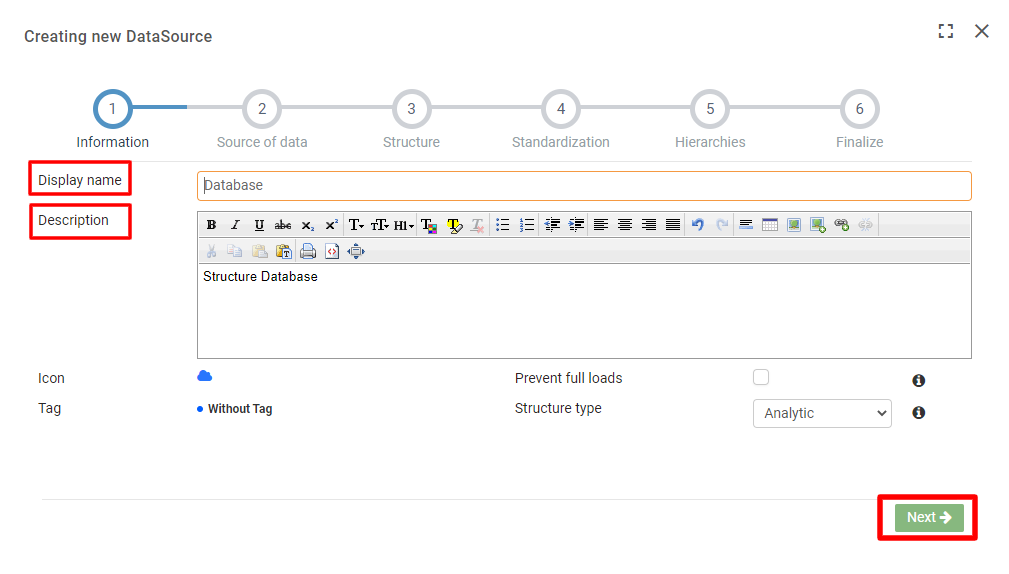
- Give your structure a name, enter a description and click “Next”.
- Select a connection or create a new one.
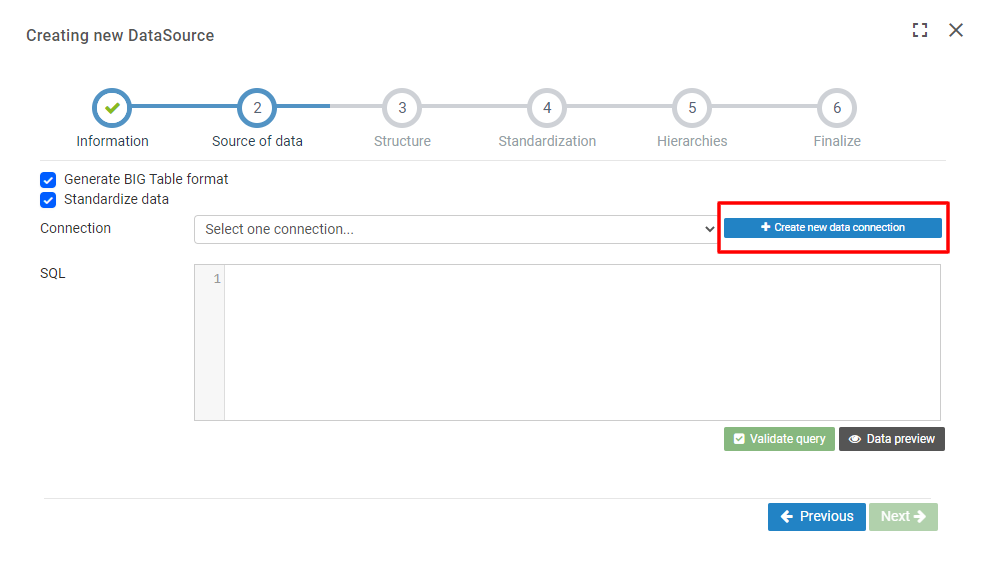
To create a new connection, enter a name, choose the database, select the BIMGateway, enter a URL (replace <host> for the IP or domain, <port> for the port and <database> for the database name, e.g. jdbc:postgresql://192.168.1.10:5432/databasename or jdbc:postgresql://bimachine.test:5432/databasename) and enter the database credentials, being user and password. Then click “Test connection”.
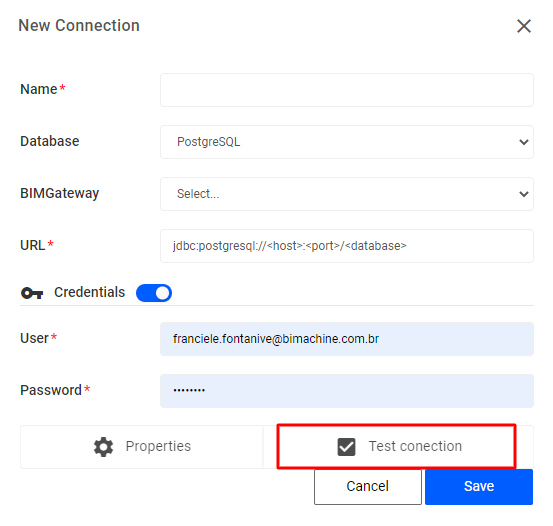
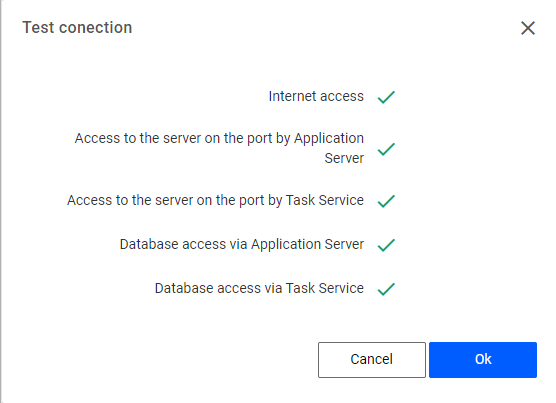
If everything is correct, the connection test returns will show success for all tests. If a problem occurs, the failed process is displayed along with the option to view the error log, making it easy to identify the problem.
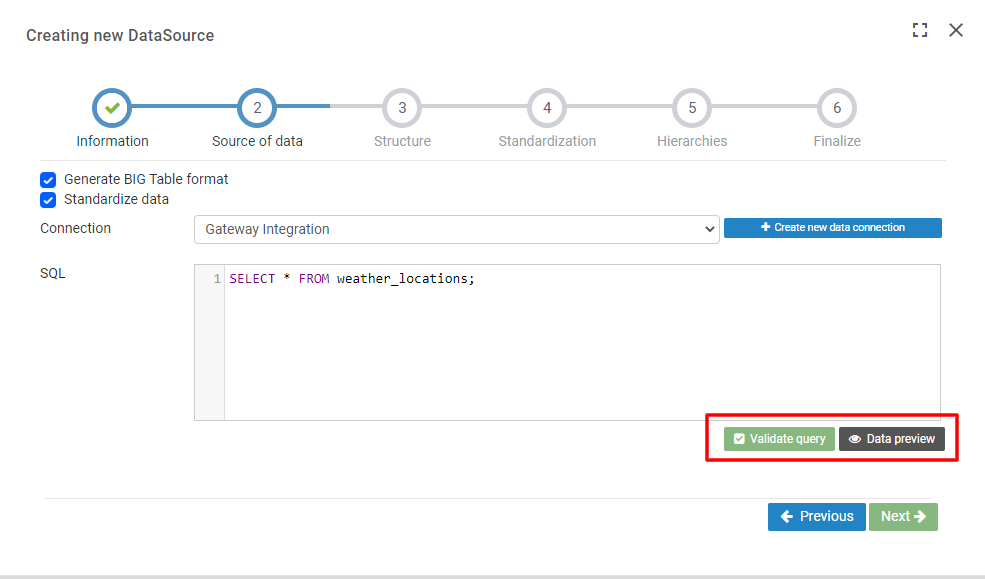
6. Select the created connection and enter a query. After that, click on “Validate Query”. If the query is correct, it will return a success message. You can also see the preview by clicking on “Data Preview”. Then click “Next”.
7. Check that the data is correct in “Structure”, set a standardization in “Standardization”, create a hierarchy dimension if you want, and finish.
That’s it! If everything is correct your structure will be created. Depending on the size of the structure it may take a while to process, but if the message below appears, everything is fine.

Other related articles:
- BIMGateway – About BIMGateway.
- How to create a BIMGateway connection.
- How to create an FPT structure with a BIMGateway connection.
- BIMGateway installation manual.
- Installing BIMGateway on Microsoft Windows.
