
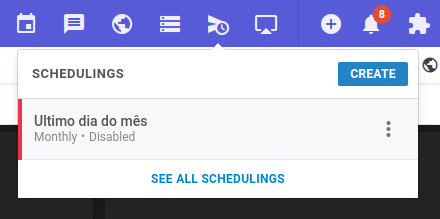
Go to BIMachine in Discover mode and click the “Schedules” icon, then click “Create”.
The screen for creating delivery schedules will open. At first, set the period for the triggers, which can be:
- Immediate Send: sent as soon as you finish the setup. (No routine will be saved, only executed);
- Schedule the submission: You will set it up as you wish.
Then you will select how you want to send it: by e-mail or by WhatsApp.

Step 1: Receivers
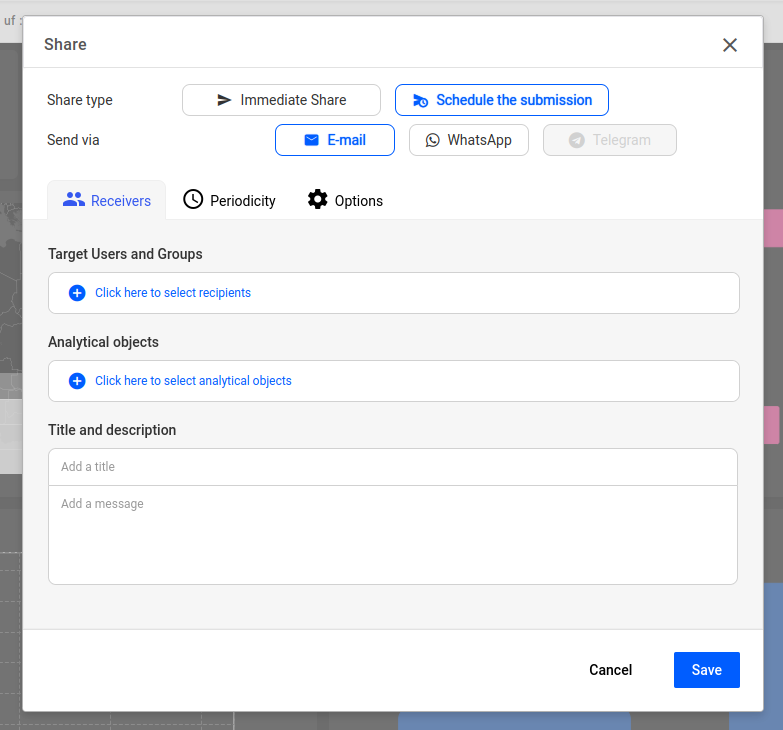
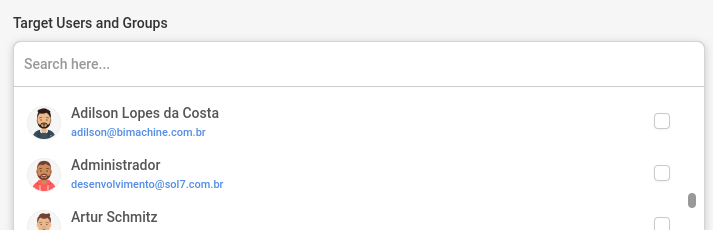
You must select the users and user groups that will receive the objects, and your user is already pre-selected.
Attention! Recipients need to enable messaging in their profile, have a valid phone number, and have the WhatsApp API add-on subscribed to their plan in order to receive schedules to send via WhatsApp.
Next, you must select the analytics objects you want to send. Choose the type of information you want to send, opting for a cockpit or the folder objects themselves.

And finally, enter a title and a message that will appear in the export. Note: the title is only required in email shares.

Step 2: Periodicity
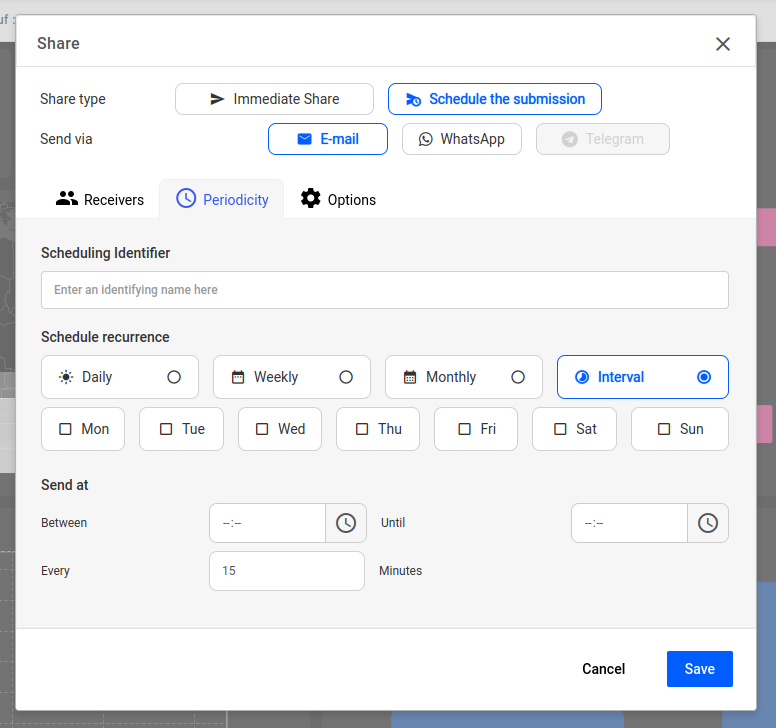
In this step you will enter the identification name of the schedule, which will be saved when accessing the schedules.

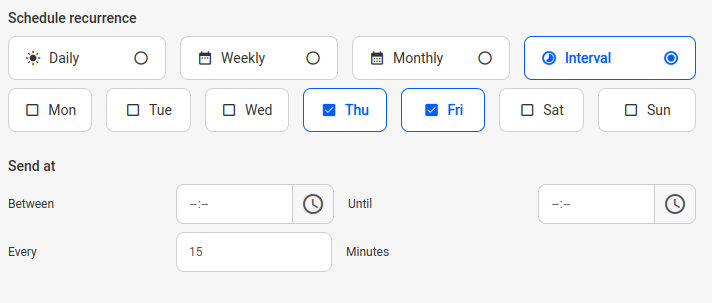
The next step is to select the recurrence and the time of sending:
- Daily: sets the days of the week and the time it will be sent(for example, Monday and Friday at 9am);
- Weekly: defines which day of the week (Monday, for example) and the time it will be sent;
- Monthly: defines the day of the month (every 10th, for example) and the time it will be sent.
- Interval: sets the days of the week, a start and end time, and an interval (30 every 30 minutes, 15 every 15 minutes, etc…);
Step 3: Options
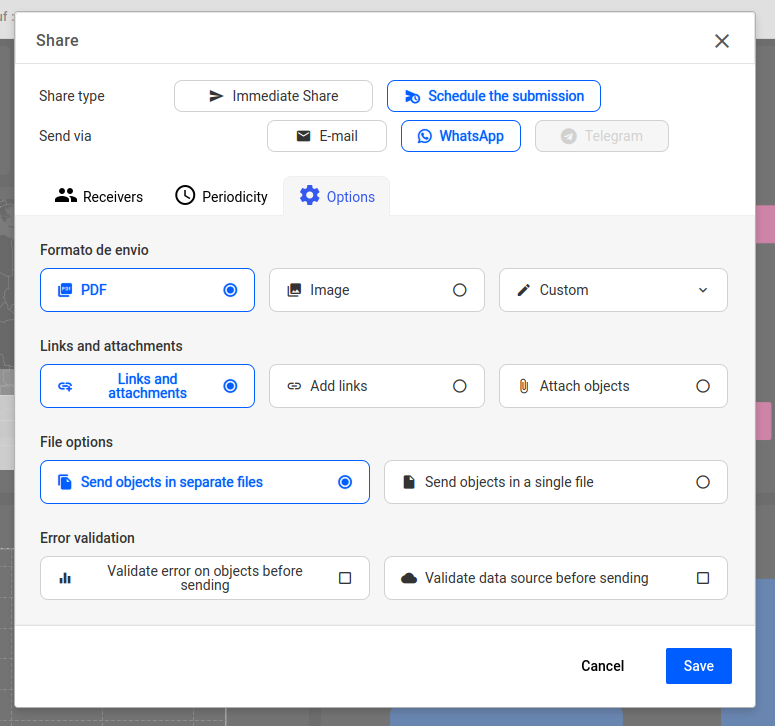
Here, you will choose the format you want your objects to be exported, it can be: PDF, image or custom (select the format of each of the objects by choosing between PDF or PNG (image)). Note: for e-mail appointments, only the PDF format is allowed.

Then you must choose whether to send the object links, attach objects, or both (which is the default).

In the file options, we have the options of sending the objects in separate files, or in a single PDF, where it doesn’t matter how many objects will be selected, they will all be in one PDF and per page the objects selected;

And finally, choose to validate if the objects or the data source has some kind of error, sending an e-mail warning the user who created the appointment.