This article is intended for users of the type:
Master
Administrator
Expert
Viewer
Understand the difference between each type of user by clicking here.
The shipping schedule via email allows you to choose the period you want, and to send the analytical objects to the users and groups of your project automatically.
How to create a shipping schedule
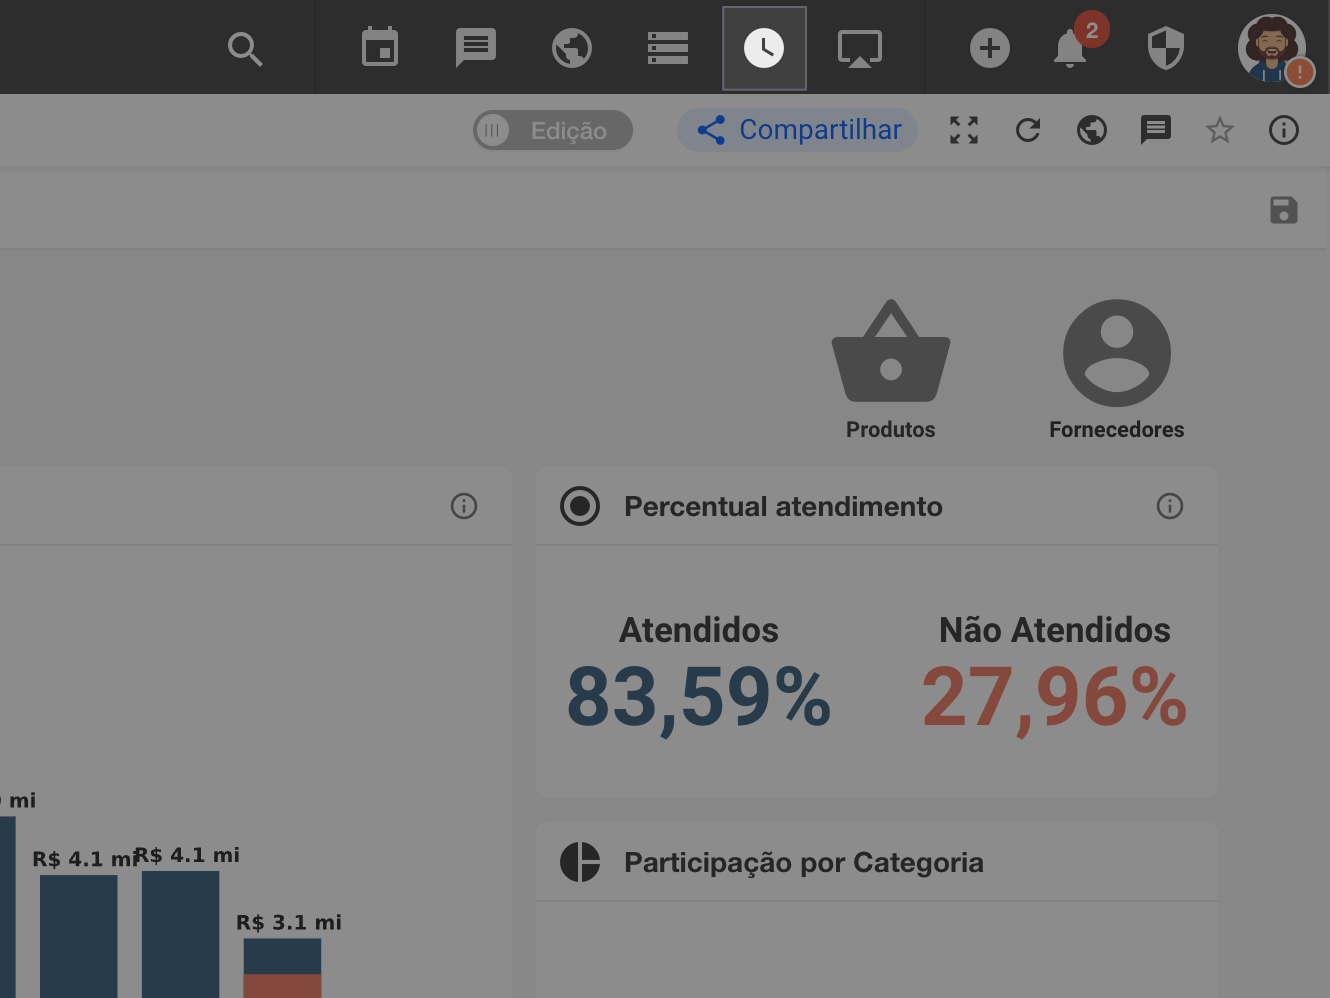
Access BIMachine in Discover mode and click on the "Schedules" icon
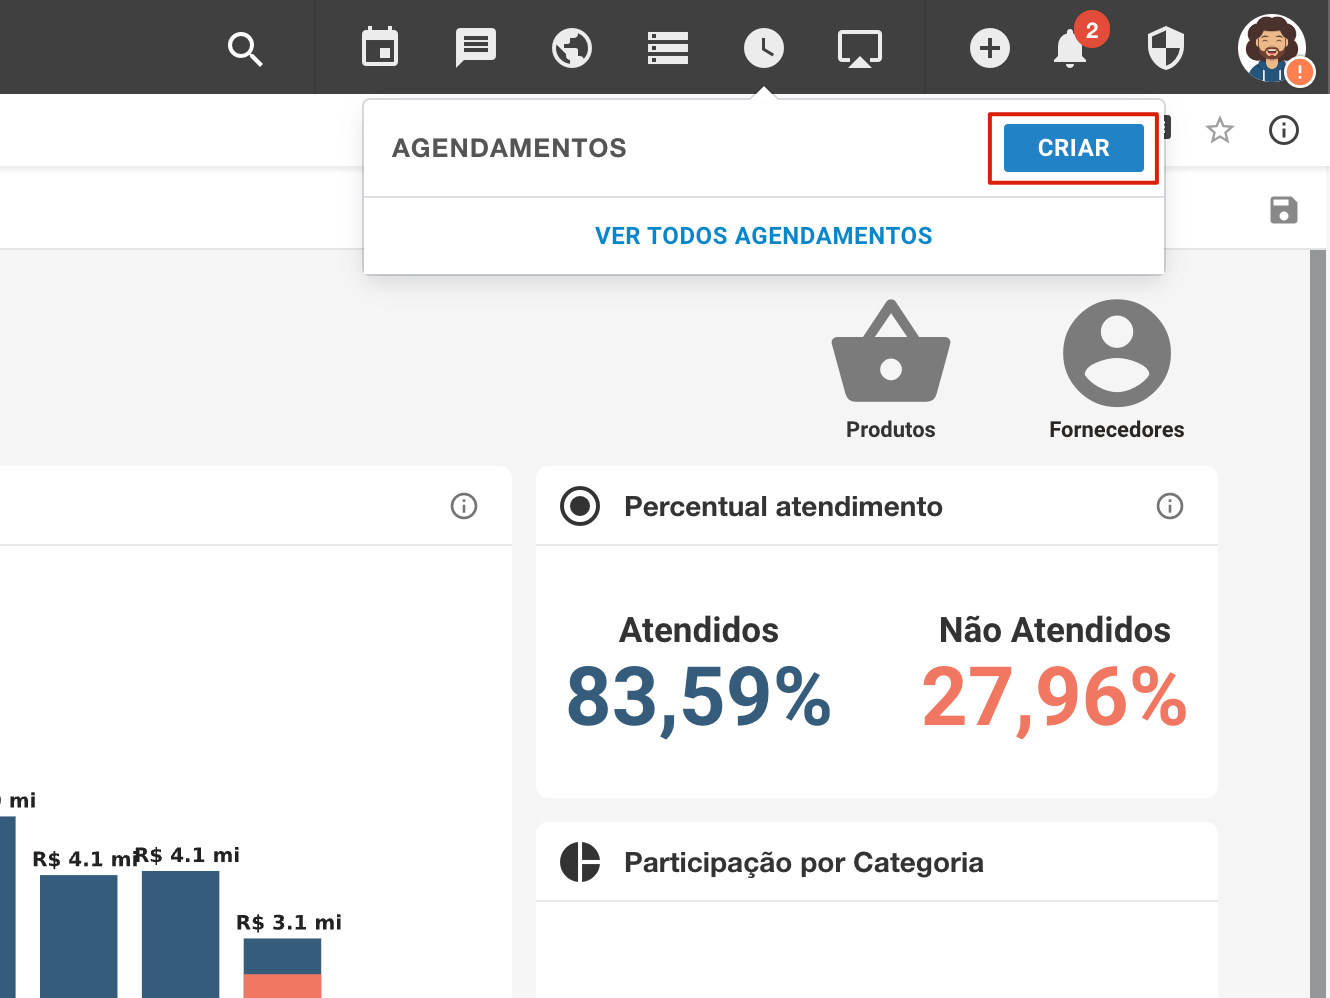
Then click on "Create".
Step 1: Info
The screen for creating delivery schedules will open, in the first step set the period of the triggers. Enter an identifier name for this schedule and the type of trigger to be executed, these are:
- Immediate: sent as soon as you finish the setup (no routines will be saved, just executed);
- Interval: sets the days of the week, a start and end time, and an interval (30 in 30 minutes, 15 in 15 minutes, etc…);
- Daily: sets the days of the week and the time it will be sent (Shown in the image below);
- Weekly: sets the day of the week (Monday, for example) and the time it will be sent;
- Monthly: sets the day of the month (every 10th, for example) and the time it will be sent.
Warning:
Only projects that are in Production can create periodic schedules, projects marked with Template, Homologation or Demo types can only use immediate schedules. Learn more about Types of projects by clicking here.
Step 2: Objects
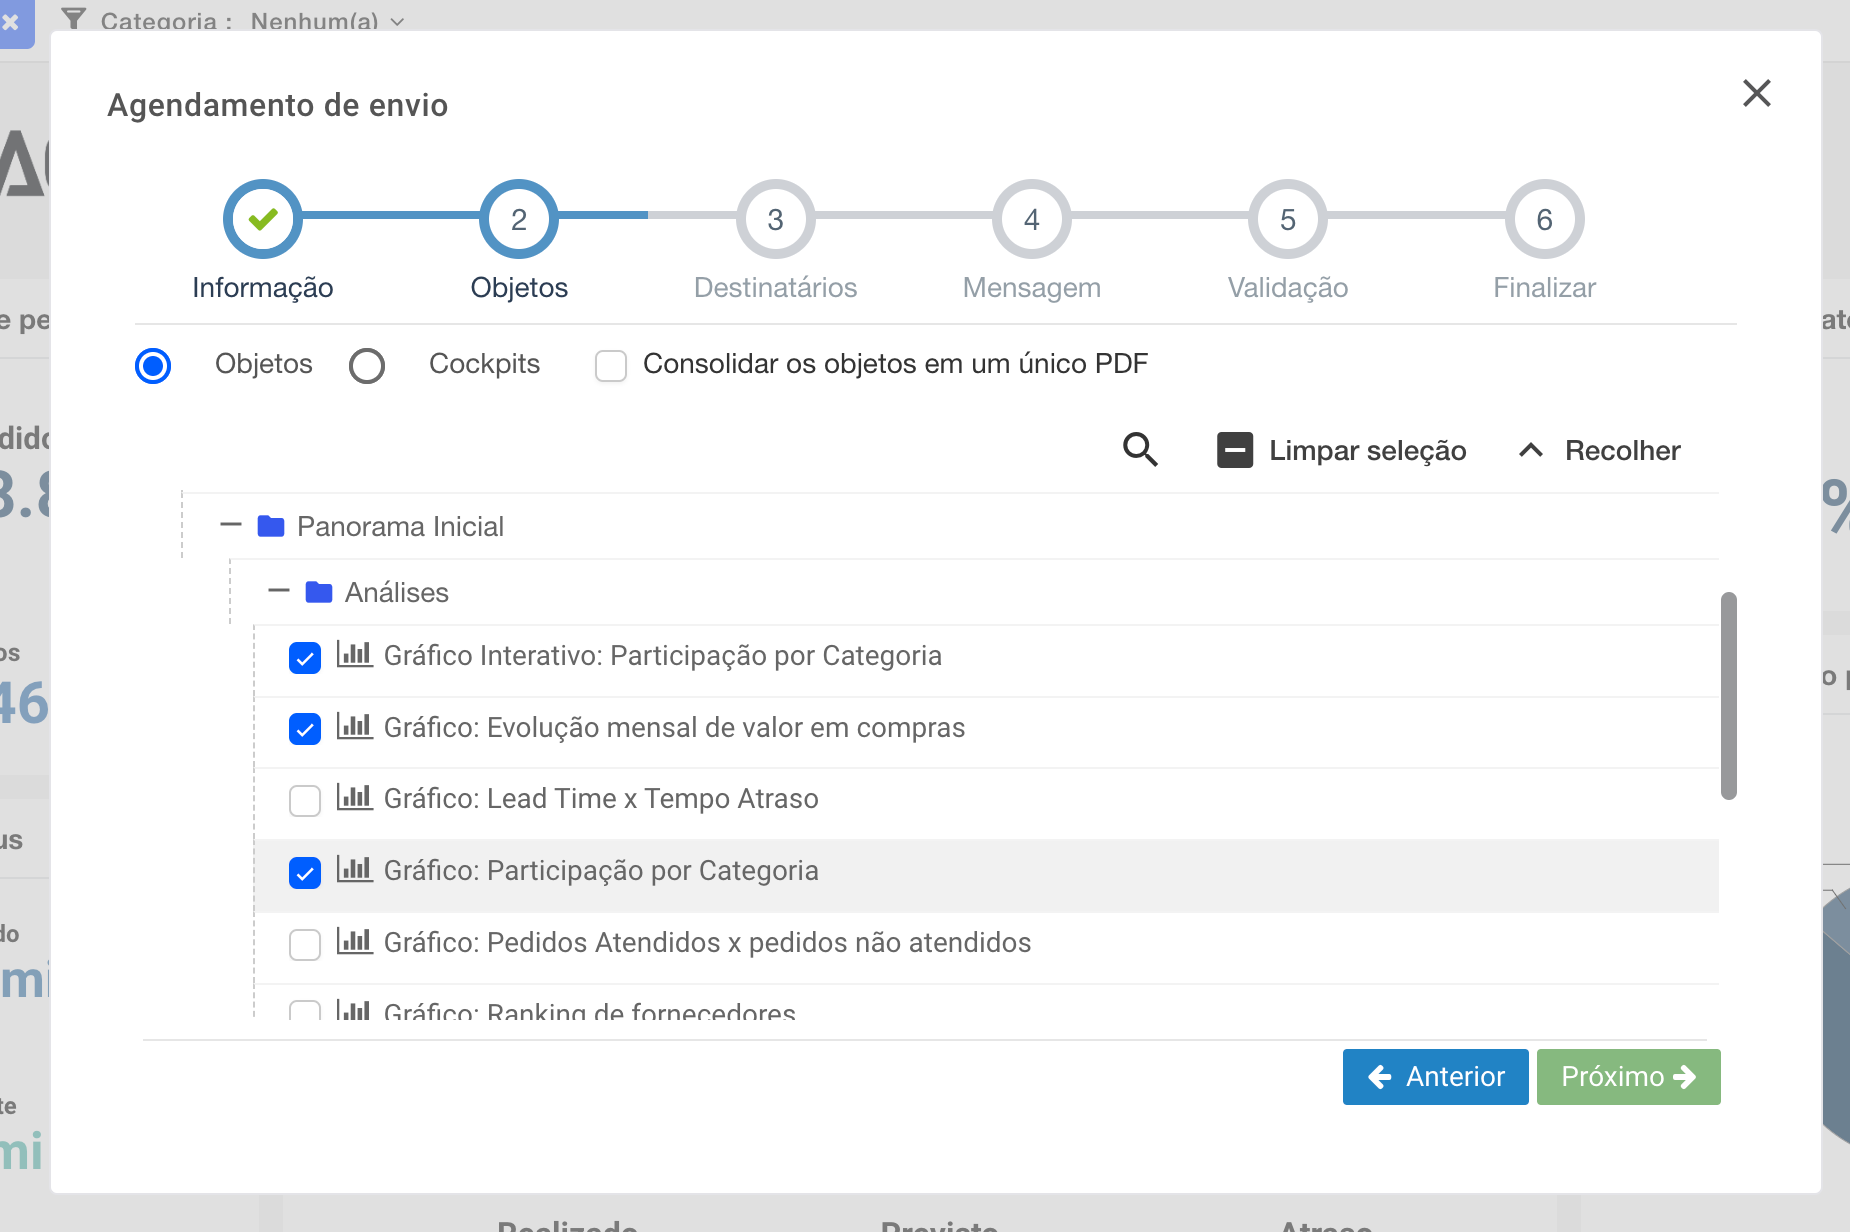
In the next step, you will be directed to the page where you define the objects and cockpits to be sent. First choose the type of information you want to send, opting for a cockpit or the folder objects themselves.
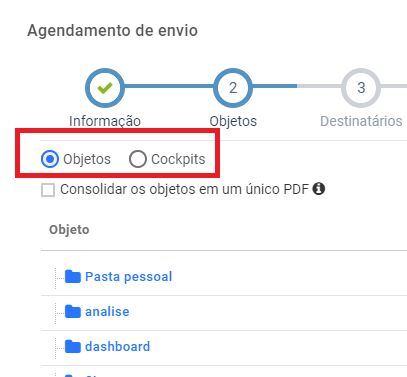
If you choose "Cockpits" select the cockpit you want (you can choose only one), if you choose "Objects", click on the folders to expand the contents, choosing the objects you want. If you choose "Objects", above the folder list you will see the following:
- Consolidate objects into a single PDF: option to check "Consolidate the objects into a single PDF", if you check the attached file sent, no matter how many objects will be selected, the objectives will be all in one PDF and per page the selected objects;
- "Clear" button: deselects all selected objects;
- "Expand All" button: expands all listed folders (even their subfolders);
- "Collapse All" button: opposite of the "Expand All" button;
- "Field": will be the name of the PDF with the consolidated objects in the submission.
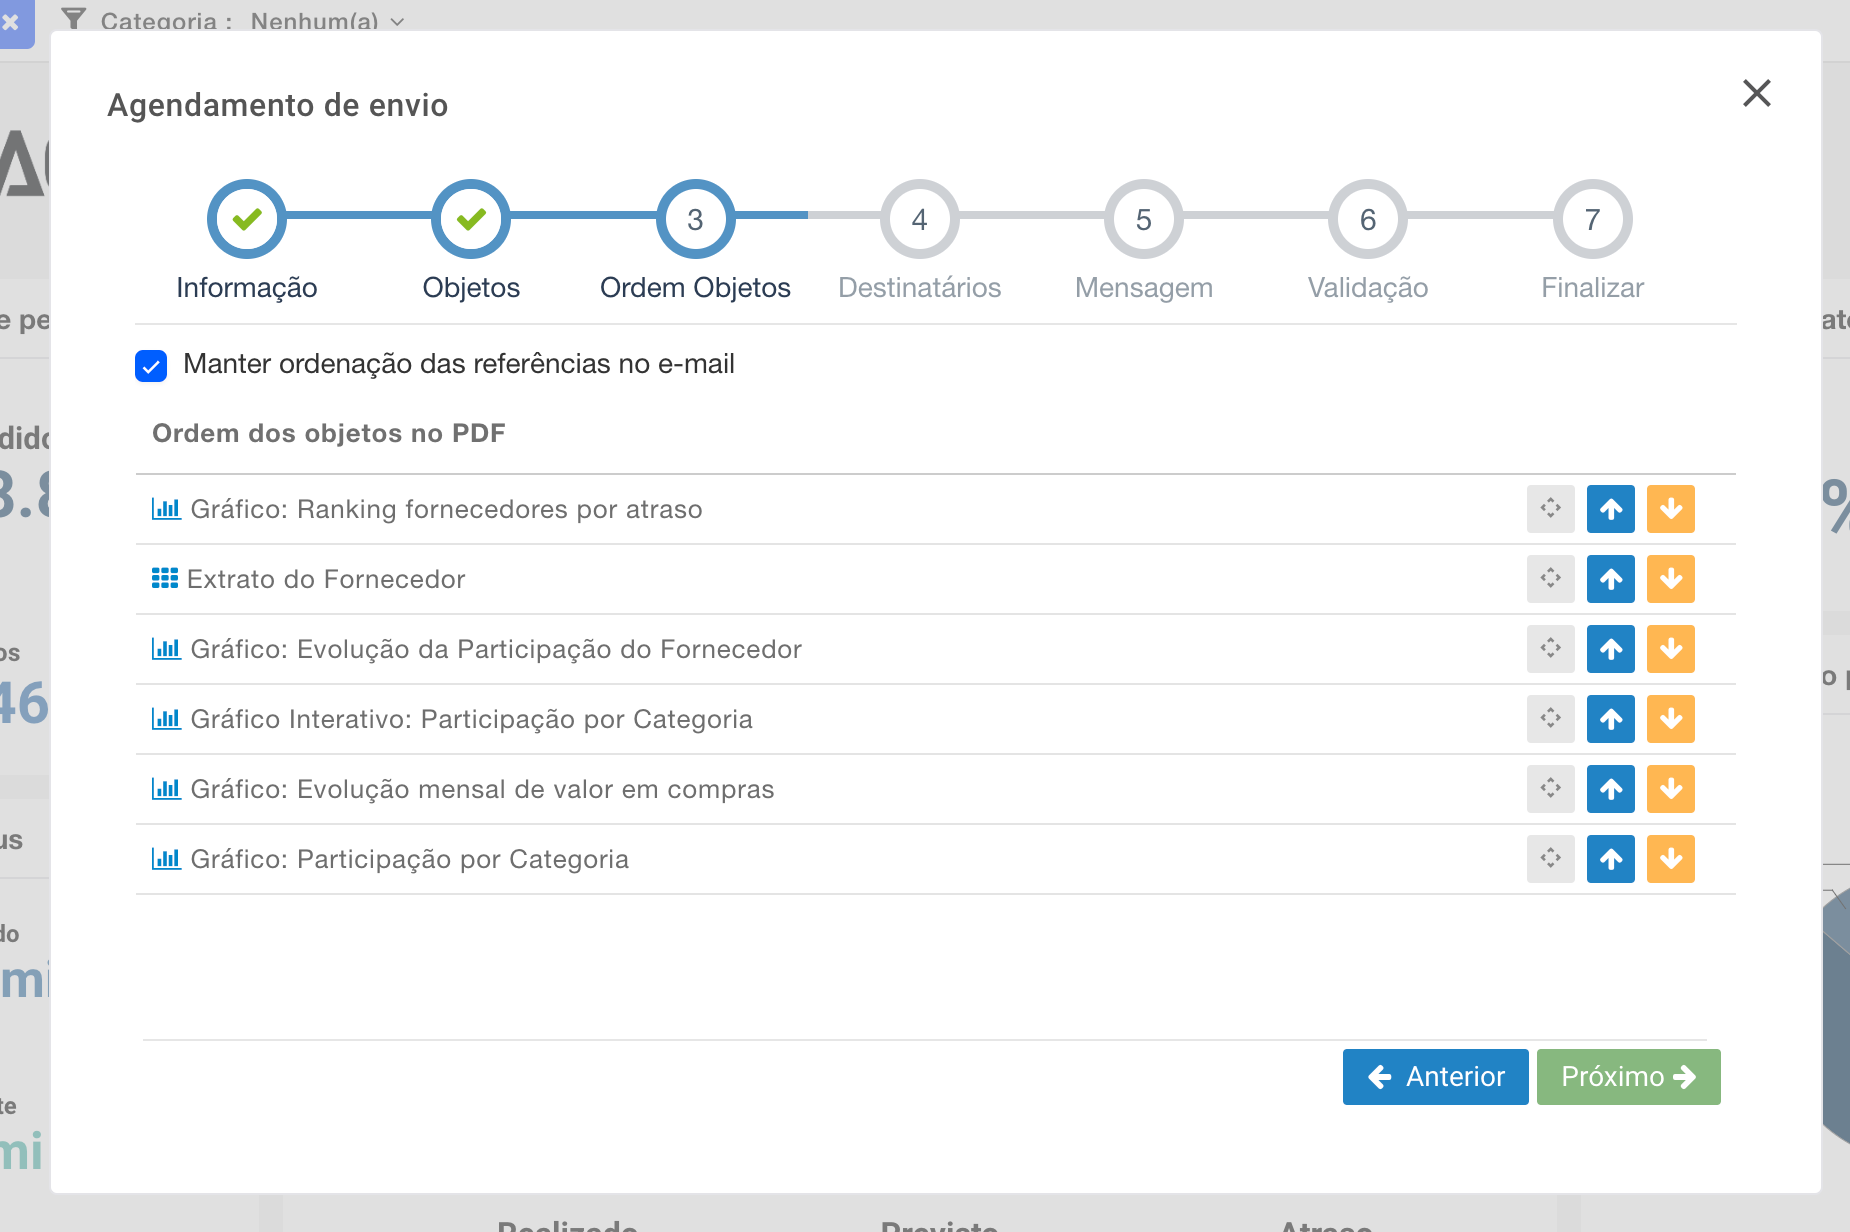
If the "Consolidate objects into a single PDF" option is checked, you will be directed to the "Order of Objects" screen. There you order with the arrow buttons the order of the selected objects as you want them to be in the file received by e-mail attachment.
Step 3: Order of objects (optional)
In the next step "Order of objects", by applying the "Keep Order of Email References" feature, you can set the order in which you want to send the selected emails.
If you do not check the "Keep Order of Email References" feature, the sent objects will go in alphabetical order.
Step 4: Recipients
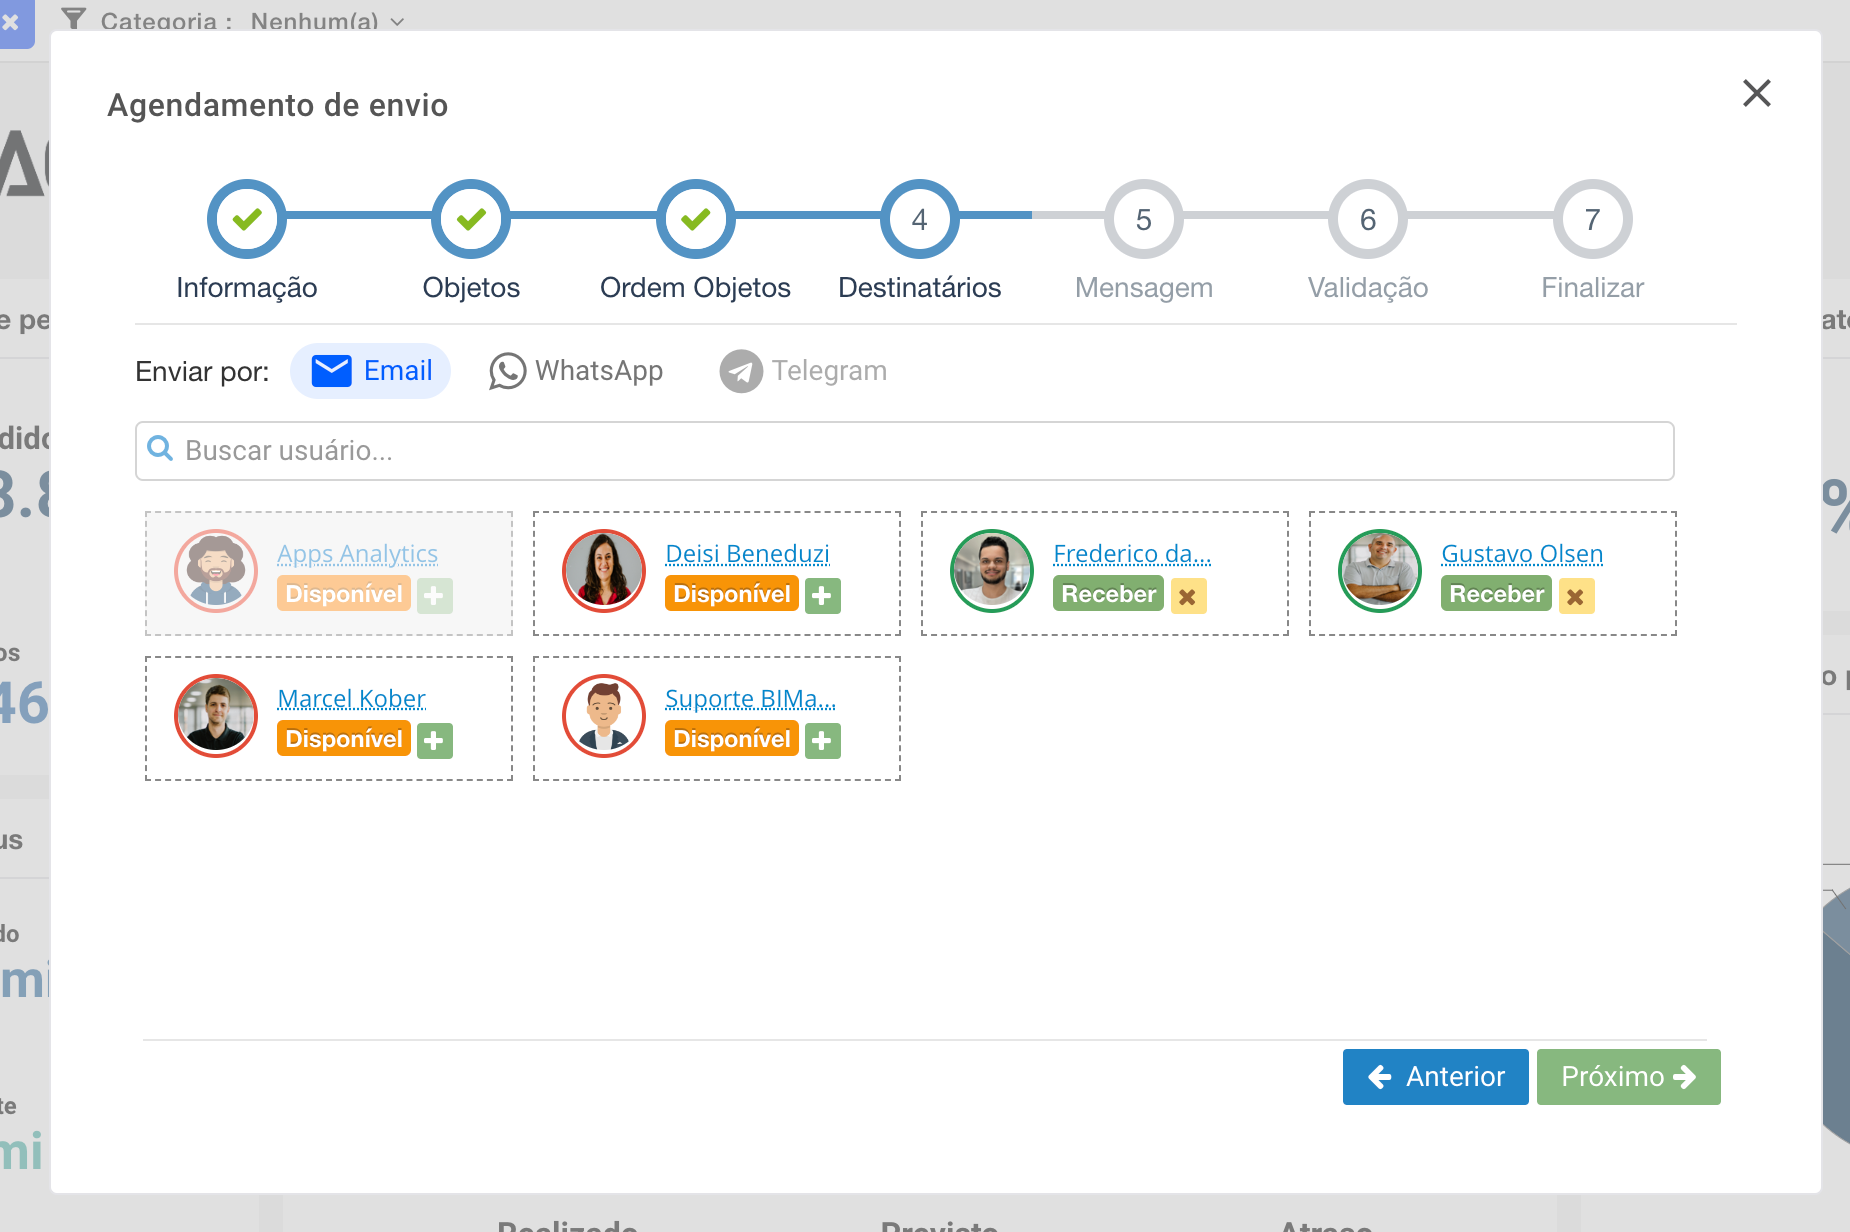
In the next step "Recipients" you mark the users and user groups that will receive the objects, yours is already pre-selected.
Step 5: Message
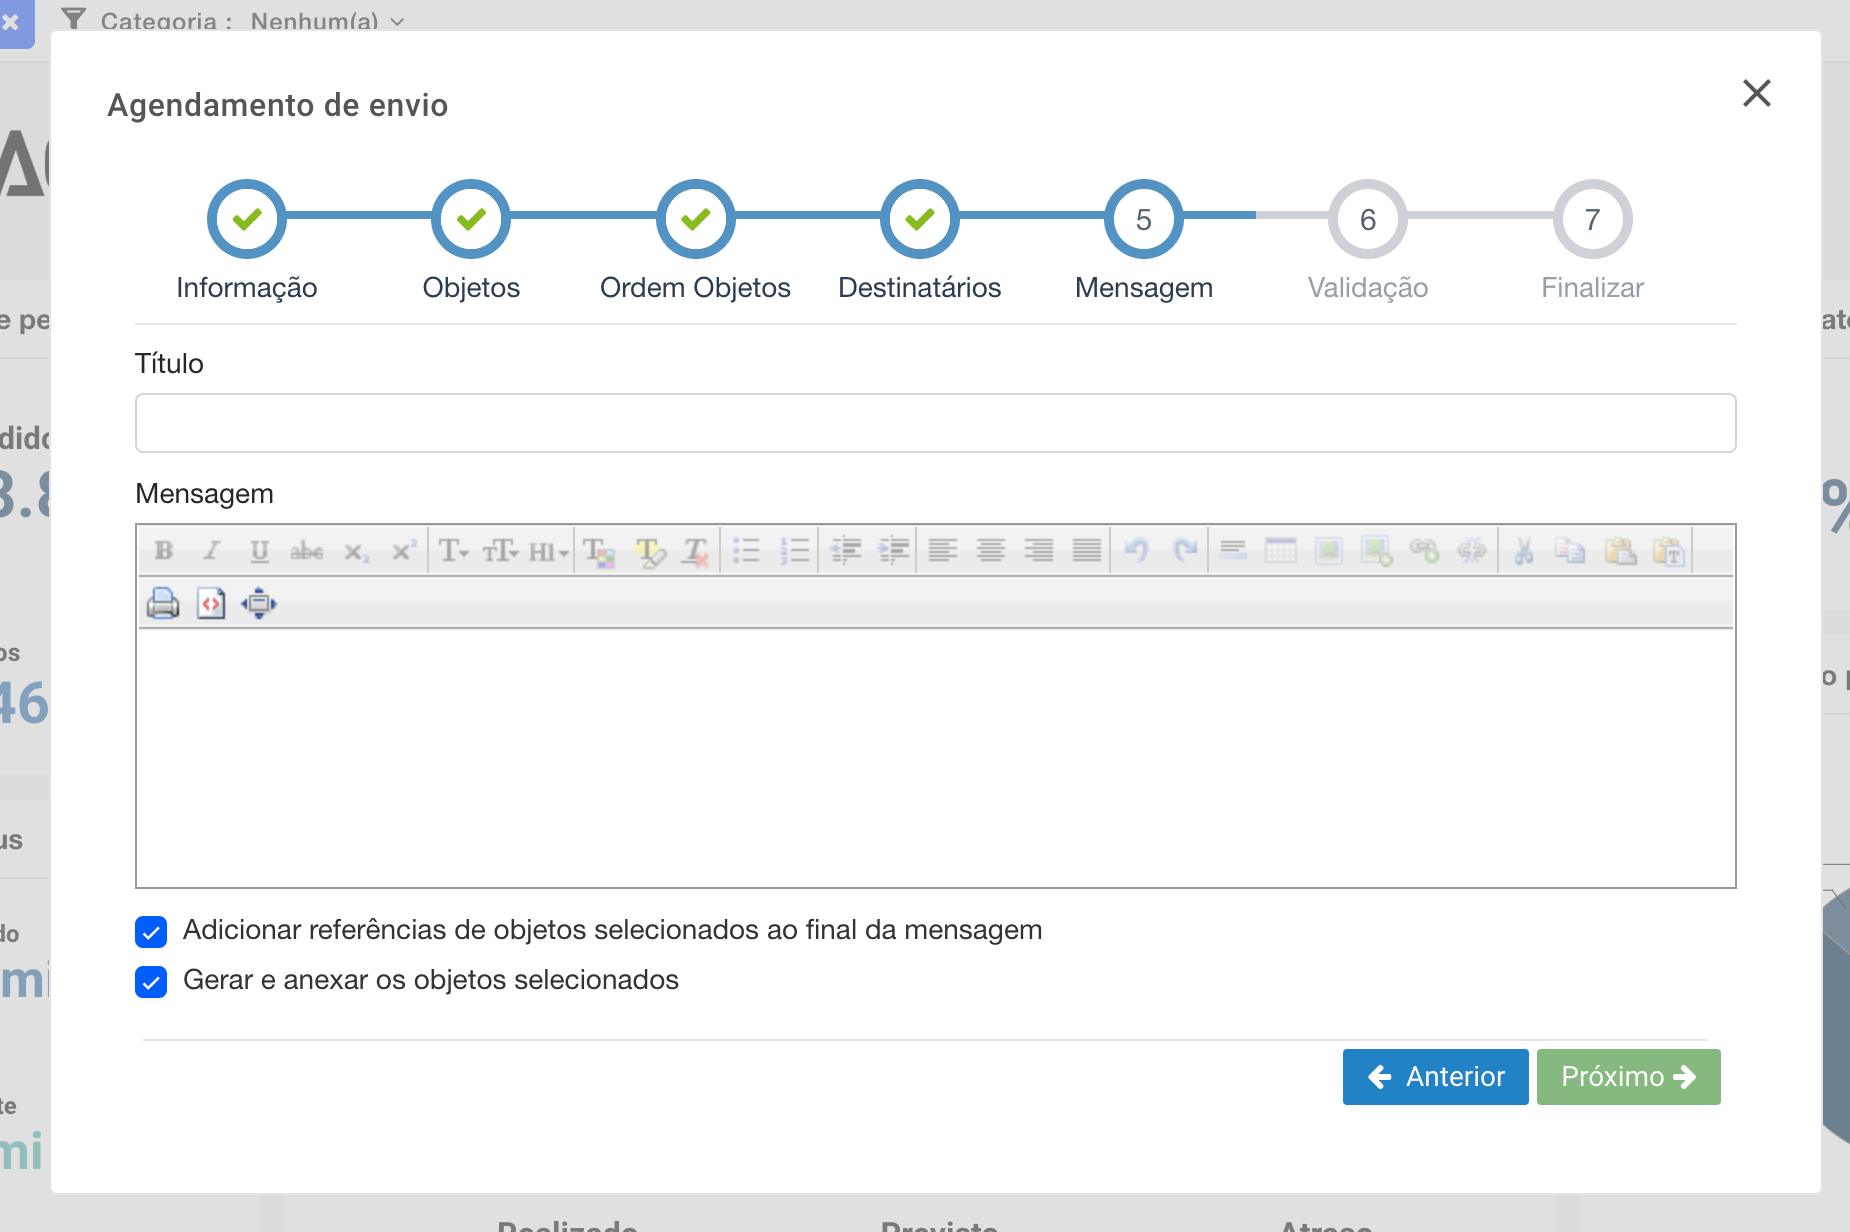
In the next step "Message", enter the Title and the message that will be in the E-mail. It contains the following options:
- Add References of selected objects to the end of the message: if you check it, you will receive direct access to the objects;
- Generate and attach the selected objects: if you check it, you will receive the objects attached to the e-mail in PDF or Excel format.
Note: if you are not logged in to the tool, you will first fall into the login screen, where you must log in. If you are logged in, it will go directly to the object.
Step 6: Validation
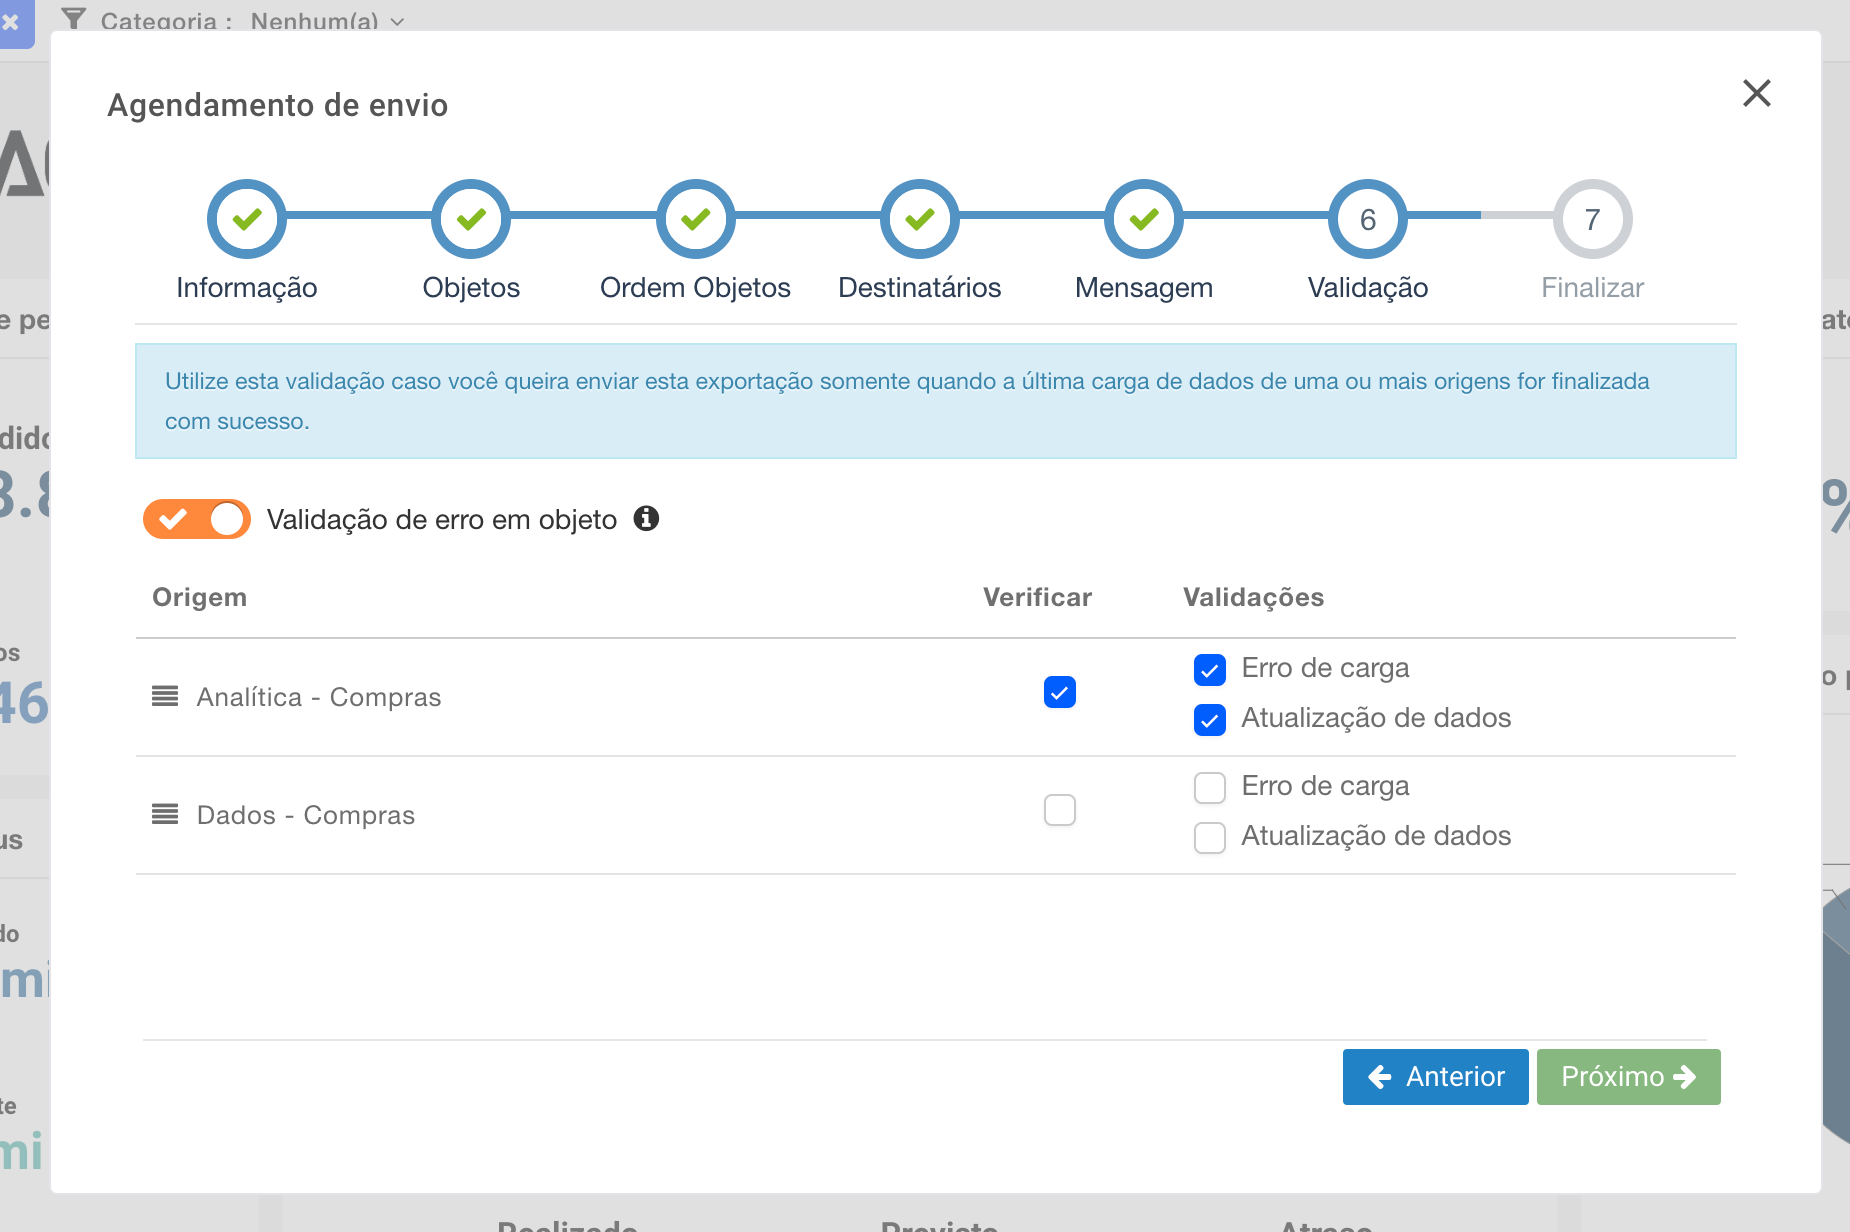
In the next step "Validation", you define the validations to be sent. To avoid the risk of receiving outdated data, you will request validation of the origin of the analysis/dashboard/KPI in question. At the top, if you check "Object error validation", you will be alerted of any object with an error, and if you do not check the object, it will not be sent due to its error.
When selecting the "validate" option you have two more options:
- Load error: will be sent if the load at this origin is successfully finished;
- Data update: will be sent if there is an update in the data.
Step 7: Finish
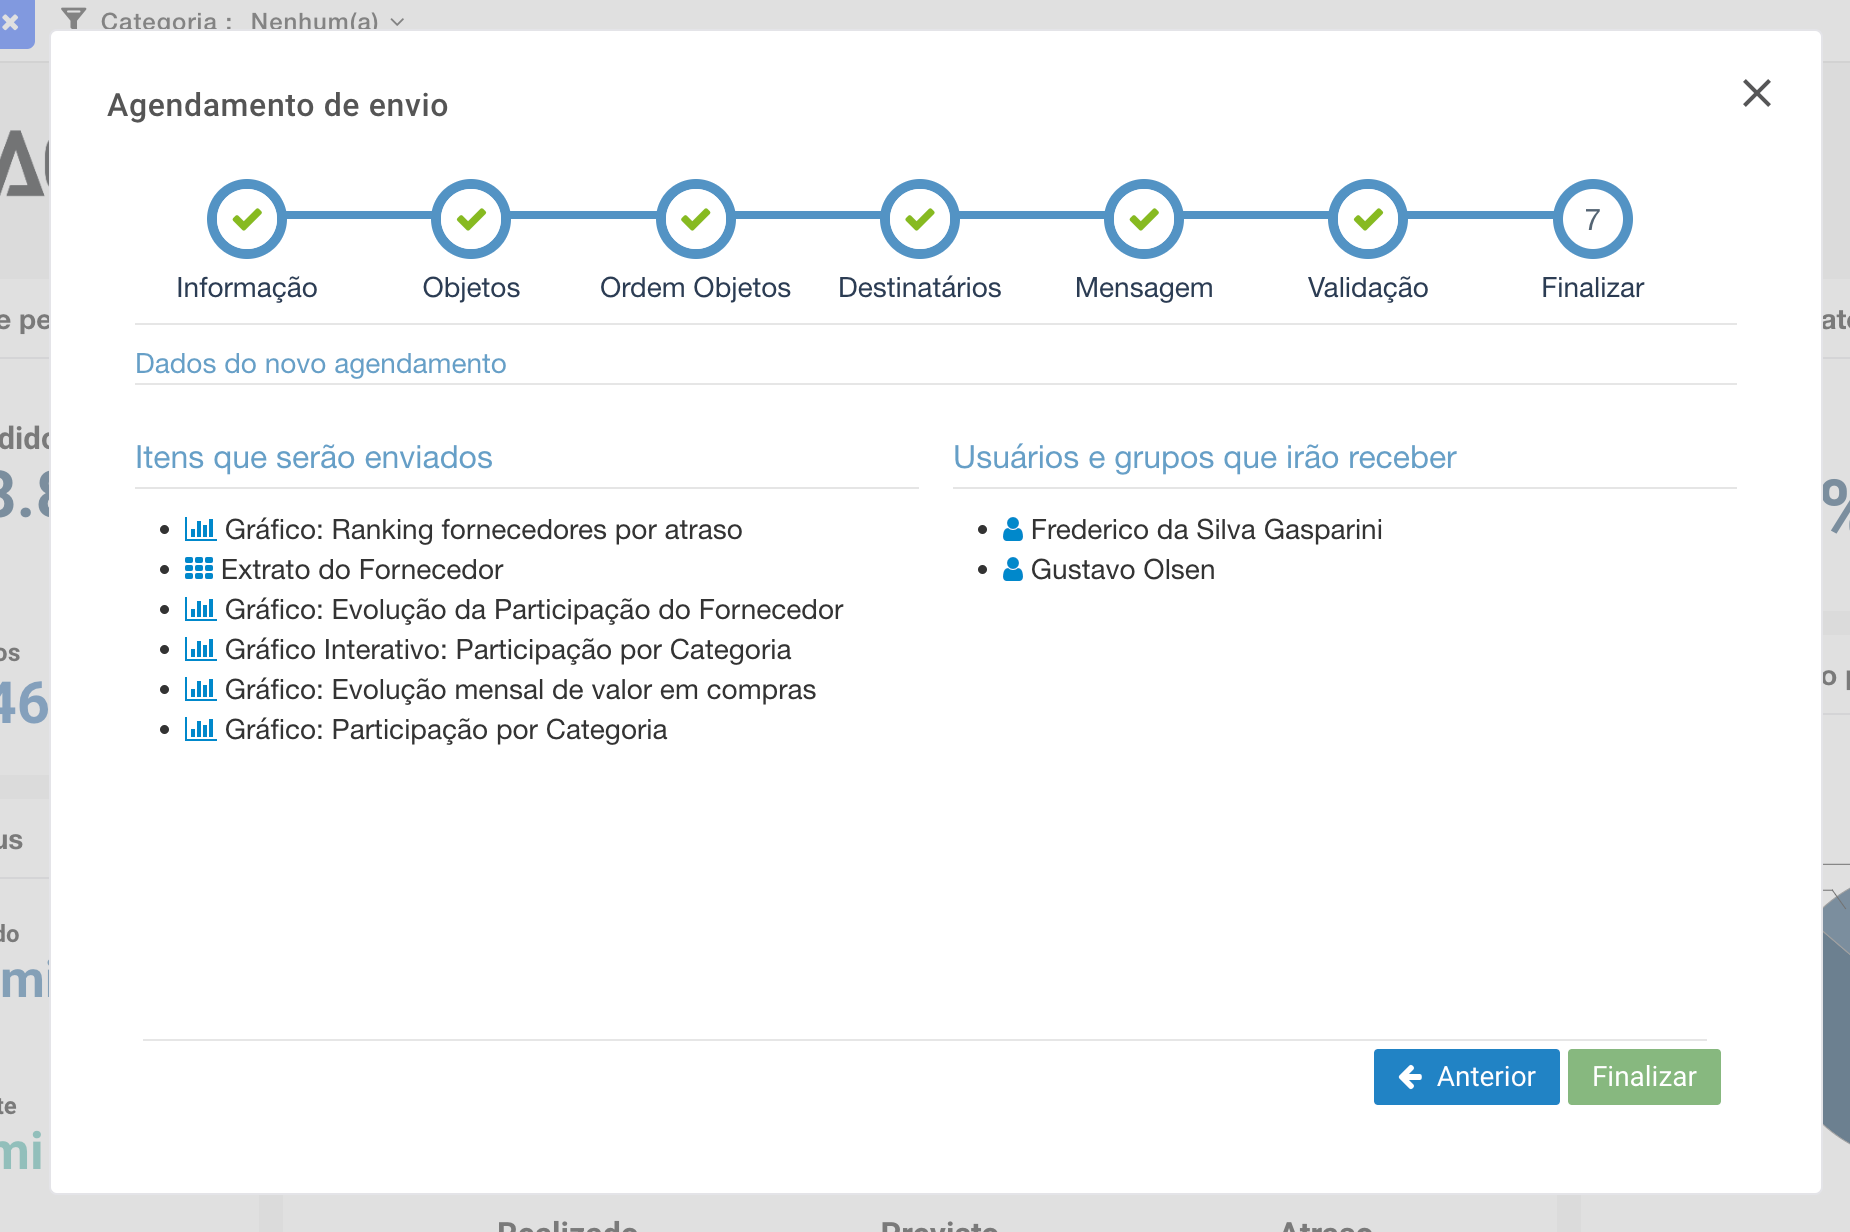
In the next step "Finish", displaying the defined data and the chosen objects. All being well, click "Finish".
